The 7-Day Electronic Timer is a versatile device designed to schedule tasks with precision. It allows users to set daily or weekly timers, making it ideal for home automation, appliances, or lighting systems. With a user-friendly interface and customizable settings, this timer offers flexibility and reliability, ensuring tasks are executed accurately every time. Perfect for homeowners and professionals seeking efficient time management solutions.
1.1 Features of the 7-Day Electronic Timer
The 7-Day Electronic Timer offers a range of features that make it highly functional and user-friendly. It includes programmable scheduling for each day of the week, allowing users to set custom on/off times. The timer features a backlit LCD display for clear visibility, even in low-light conditions. It supports multiple event programming, enabling users to set up to 20 events per day. Battery backup ensures settings are retained during power outages. The device also includes a memory storage function to save custom schedules. Its compact, durable design and lightweight construction make it easy to install and use in various settings. These features combine to provide a reliable and versatile time management solution.
1.2 Benefits of Using a 7-Day Timer
The 7-Day Electronic Timer offers numerous benefits, making it an ideal solution for managing time-sensitive tasks. Its programmable scheduling enhances convenience, allowing users to automate routines without daily adjustments. Energy efficiency is improved by ensuring devices operate only when needed, reducing standby power consumption. The timer’s reliability minimizes the risk of human error, providing consistent performance. Its customizable settings cater to diverse needs, whether for home automation, lighting systems, or industrial applications. Additionally, the timer’s compact design saves space and reduces clutter. Overall, it streamlines workflows, saves time, and lowers energy costs, making it a practical and efficient tool for both residential and professional environments;
Unboxing and Initial Setup
Upon unboxing, ensure all components are included. Carefully remove the timer from packaging and insert batteries or connect to a power source. Follow the quick-start guide for initial configuration, ensuring the timer is ready for programming and use.
2.1 Unboxing the Timer
Begin by carefully opening the packaging to reveal the timer and its accessories. Typically, you’ll find the timer unit, a user manual, and sometimes a battery or power adapter. Inspect each item for damage. Once everything is accounted for, gently remove any protective coverings from the timer’s screen and buttons. Take a moment to familiarize yourself with the device’s layout before proceeding to the setup phase. Ensure all components are included as listed in the manual to avoid any issues during initial configuration.
2.2 Preparing the Timer for Use
After unboxing, insert the batteries as specified in the manual. Turn on the timer and set the current time and date using the navigation buttons. Save your settings to ensure accuracy. Familiarize yourself with the menu to program schedules. Set daily or weekly timers according to your needs and save them. Use the backup battery option if available to maintain settings during power outages. This ensures your timer operates reliably and efficiently, providing consistent performance for all your scheduled tasks.
Understanding the Timer Interface
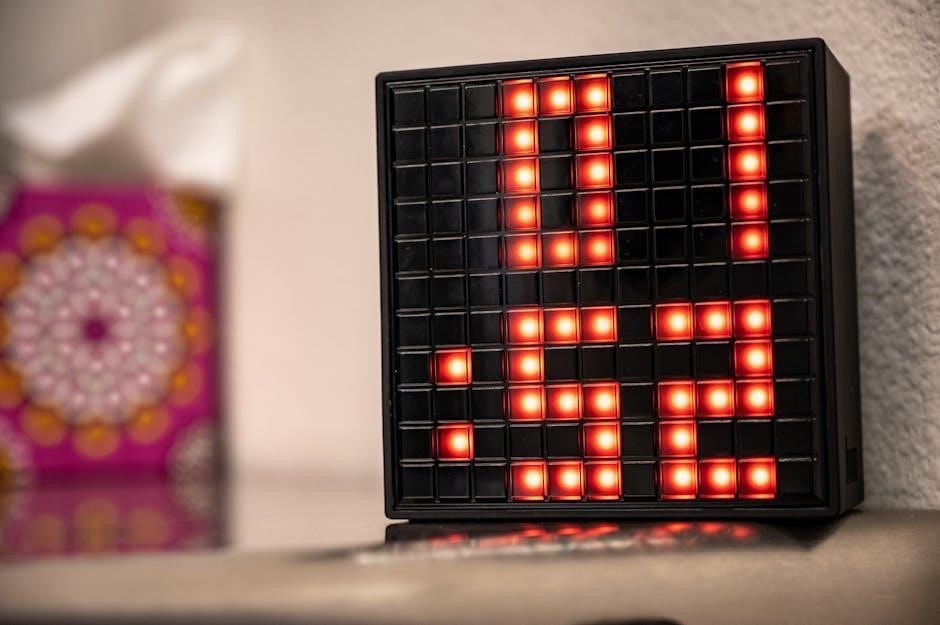
The 7-Day Timer features an intuitive interface with a clear LCD display showing time, date, and mode. Buttons enable easy navigation and setting options for users.
3.1 Overview of the Timer’s Buttons and Display
The 7-Day Electronic Timer features a sleek, user-friendly interface with a backlit LCD display. The display shows the current time, date, and active settings clearly. Below it, a set of buttons allows easy navigation and programming. The buttons include a combination of navigation arrows, selection keys, and function-specific buttons for setting time, date, and timer modes. The interface is designed for intuitive operation, ensuring users can quickly access and adjust settings. The backlight ensures visibility in low-light conditions, while the button layout minimizes confusion, making it accessible for both tech-savvy users and those less familiar with electronic devices.
3.2 Basic Timer Functions
The 7-Day Electronic Timer offers essential functions for managing time effectively. Users can set and adjust the current time and date, program daily or weekly schedules, and manually start or stop the timer. The timer supports multiple on/off cycles within a 24-hour period, allowing for flexible scheduling. Additional features include a battery backup to maintain settings during power outages and an optional manual override for immediate control. The device also provides visual and audible notifications when a programmed event occurs, ensuring users stay informed. These basic functions make the timer a reliable tool for automating tasks and maintaining a consistent schedule with minimal effort required.

Setting the Time and Date
Accurately set the current time and date to ensure proper timer functionality. Use the navigation buttons to adjust hours, minutes, and date values. Save settings to confirm.
4.1 How to Set the Current Time
To set the current time on your 7-Day Electronic Timer, press and hold the TIME button until the display flashes. Use the UP and DOWN arrows to adjust the hour, then press SET. Repeat for minutes. Ensure the time format (12/24-hour) matches your preference. After setting, press SAVE to confirm. The timer will now display the correct time, essential for accurate scheduling. Double-check the time to avoid errors in timer operations. This step ensures all programmed settings align with the current time, providing reliable performance for your scheduled tasks.
4.2 How to Set the Date
To set the date on your 7-Day Electronic Timer, press the DATE button until the display flashes. Use the UP and DOWN arrows to select the day, month, and year in sequence. Press SET after each selection to move to the next field. Once all fields are set, press SAVE to confirm. Ensure the date format matches your preference (MM/DD/YYYY or DD/MM/YYYY). Accurate date setup is crucial for weekly scheduling. Double-check the date to prevent errors in timer programming. This step ensures your timer operates correctly with the current date, enabling precise scheduling for up to seven days in advance.

Programming the Timer
Program your 7-Day Electronic Timer by selecting modes, setting times, and applying schedules. Choose between daily or weekly settings to automate tasks effortlessly and efficiently.
5.1 Setting a Daily Timer
To set a daily timer, press the Menu button and navigate to Timer Settings. Select Daily Mode and choose the desired start and end times using the arrow keys. Configure the days of the week by highlighting each day and pressing Select. For recurring events, enable the Repeat option. If you need a one-time timer, disable Repeat and set the specific date. Customize additional settings like timer duration or interval. Once configured, press Save to store your settings. The timer will now activate automatically at the specified times, ensuring your tasks run smoothly every day. Use the Back button to exit the menu.
5.2 Setting a Weekly Timer
To set a weekly timer, press the Menu button and select Weekly Mode. Use the arrow keys to choose the start and end times for each day. Highlight specific days (e.g., Monday, Wednesday) and press Select to activate them. For recurring weekly schedules, enable the Repeat option. Customize settings like timer duration or interval if needed. Press Save to store your weekly schedule. The timer will now follow your programmed weekly routine. Use the Back button to return to the main menu. This feature is ideal for tasks that occur on specific days of the week, ensuring consistency and convenience.
5.3 Customizing Timer Settings
Customizing timer settings allows you to tailor the device to your specific needs. Access the Settings menu by pressing and holding the Menu button for 3 seconds; Use the arrow keys to navigate through options like timer duration, interval, and repeat frequency. Select Custom Days to choose which days the timer should activate. Adjust the start and end times using the Plus and Minus buttons. Enable features like Random Start for added security or Silent Mode to disable audible alerts. Press Save to confirm your changes. Review your settings periodically to ensure they remain accurate and aligned with your preferences.

Using the Timer
Using the timer involves starting and stopping it via designated buttons. Monitor the countdown on the display and adjust settings as needed for smooth operation.
6.1 Starting the Timer
Starting the timer is straightforward. First, ensure the timer is powered on and the correct time is set. Navigate to the timer function using the menu buttons. Select the desired timer program or manually input the duration. Once configured, press the start button to activate the countdown. The display will show the remaining time, and an audible alert will sound when the timer completes. For recurring tasks, enable the repeat function. Always double-check settings before starting to avoid errors. This ensures seamless operation and accurate timing for any task or schedule.
6.2 Stopping the Timer
To stop the timer, press and hold the stop button until the countdown cancels. The display will clear, and the timer will reset to standby mode. If the timer was set to repeat, stopping it will disable the recurring schedule. Note that stopping the timer does not delete saved programs; it only pauses the current countdown. For silent operation, disable the alarm before stopping. Ensure the timer is in standby mode to conserve battery life. Always confirm the timer has stopped before leaving it unattended. This feature ensures precise control over your scheduled tasks without affecting saved settings or future programs.
Troubleshooting Common Issues
Identify and resolve common malfunctions by checking power supply, ensuring correct time settings, and verifying timer programs. Reset the timer if it fails to respond, and consult the manual for further assistance if needed.
7.1 Addressing Common Timer Malfunctions
When encountering issues, start by ensuring the timer is properly powered. Check the batteries or plug connection. If the display is unresponsive, reset the device by pressing and holding the reset button for 5 seconds. Review the timer settings to ensure they are correctly programmed. If the timer fails to activate scheduled events, verify that the current time and date are set accurately. For recurring problems, perform a factory reset by navigating to the settings menu and selecting “Restore Defaults.” If issues persist, refer to the user manual or contact customer support for further assistance.